Black Ops 2 Zombies
This guide will walk you through downloading Black Ops 2 and setting up the Plutonium client. The Plutonium client allows you to play several Call of Duty games with support for a friends list, dedicated servers, and playing multiplayer zombies with up to eight players.
-
Download the game files (14GB).
-
Create an account on the Plutonium forums.
Note: the username you choose here will be what you are known as in-game.

-
Follow sjerred to add them as a friend.

-
Unzip
t6.zip. -
Go into the
t6folder that was created when unzipping. -
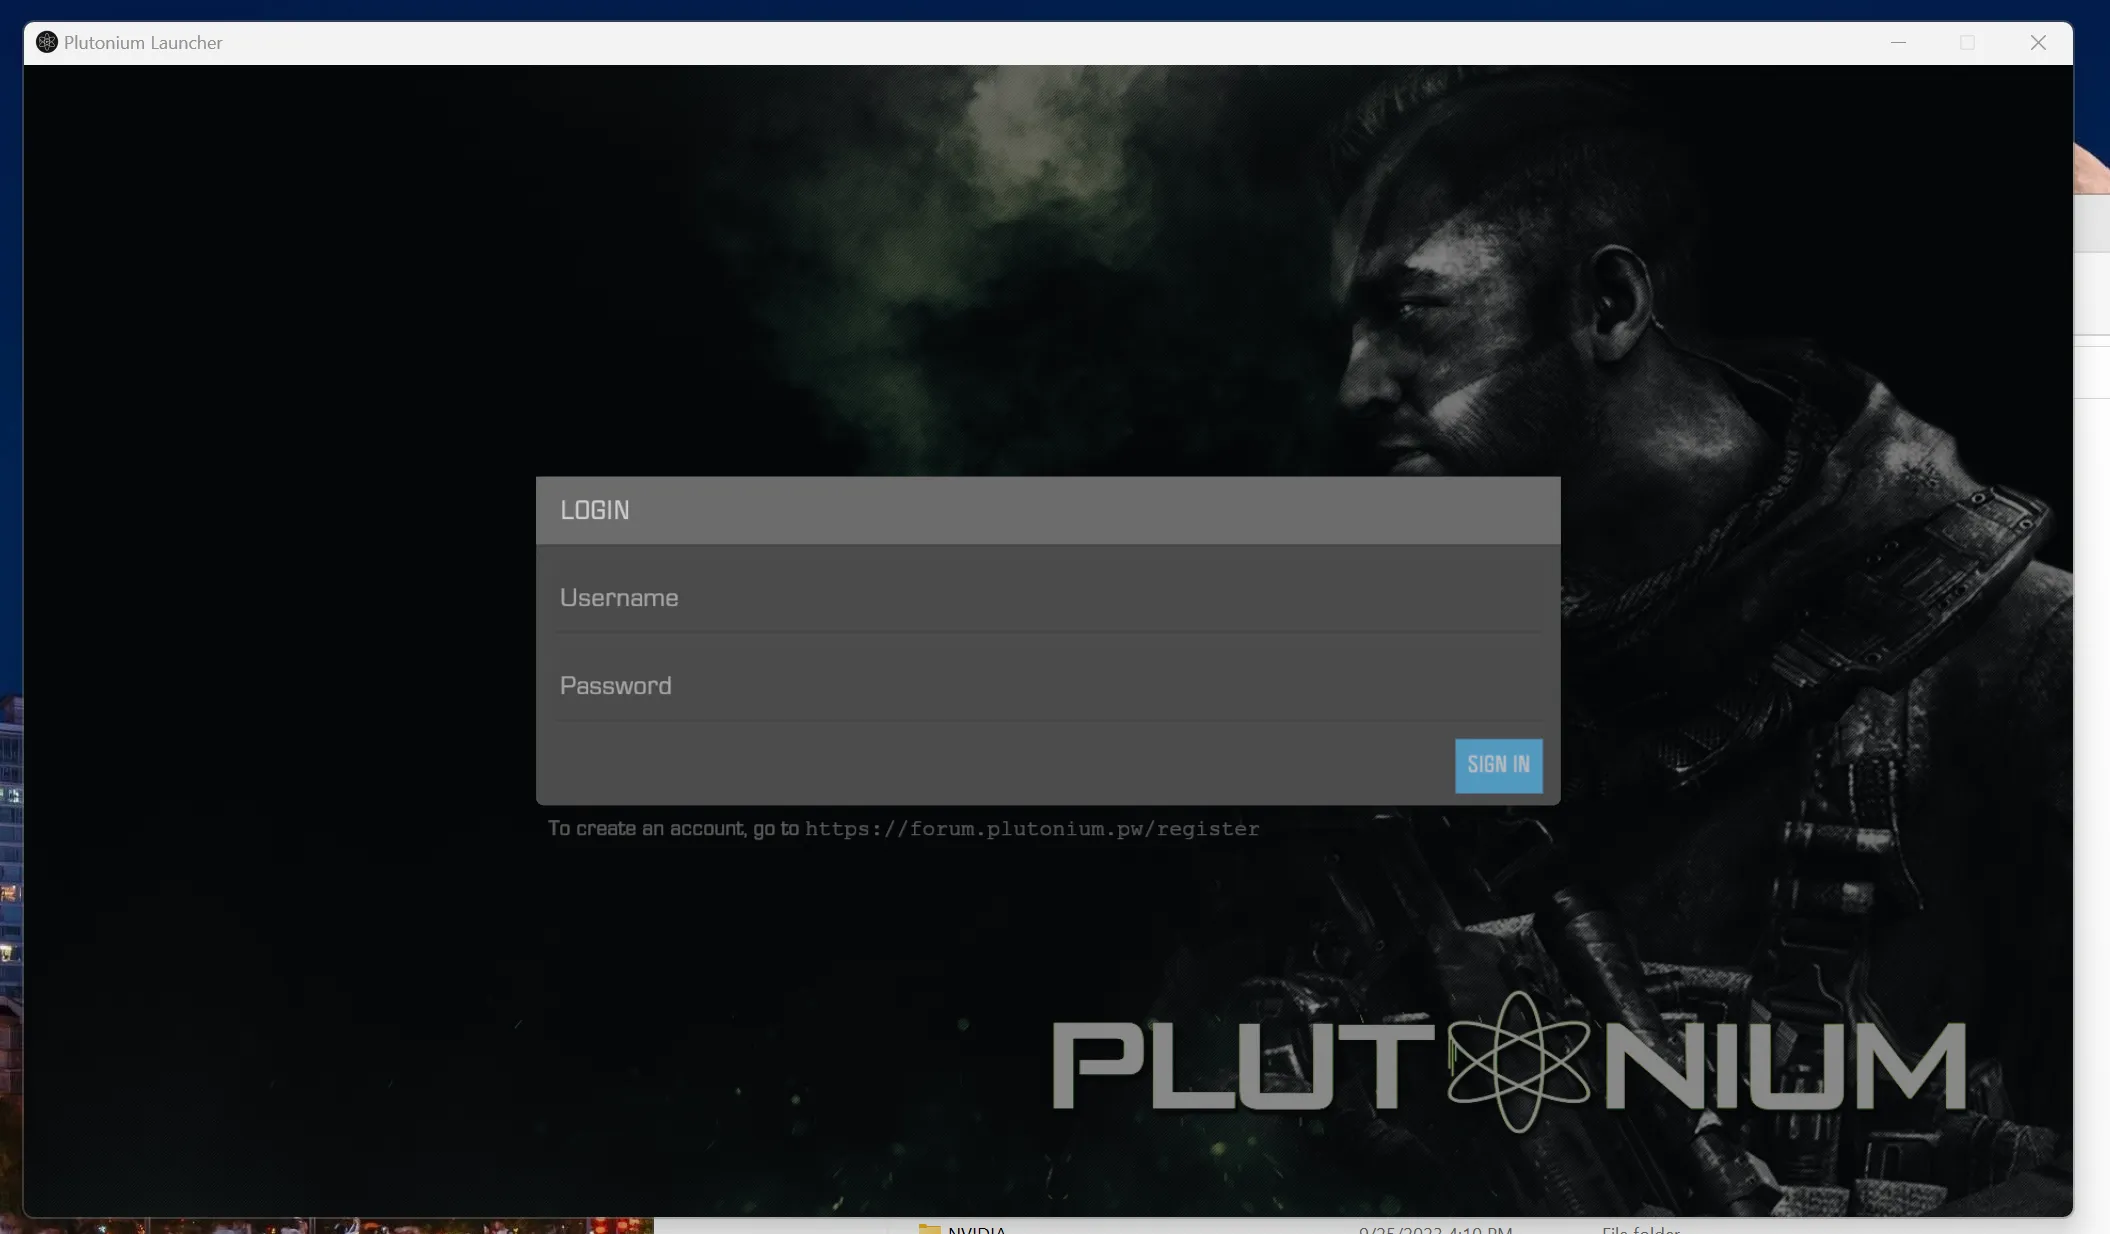
Run the
plutoniumexecutable in thet6folder. This will start the Plutonium client. -
Login to the Plutonium client using the account you created in step 2.
-
Hover your cursor over the icons on the sidear. Look for an icon labeled “T6 Zombies”. Click the icon.
-
Click the “setup” button.

-
In the popup dialog, select the
t6folder with the game files in it. The folder that you pick should have theplutoniumexecutable in it.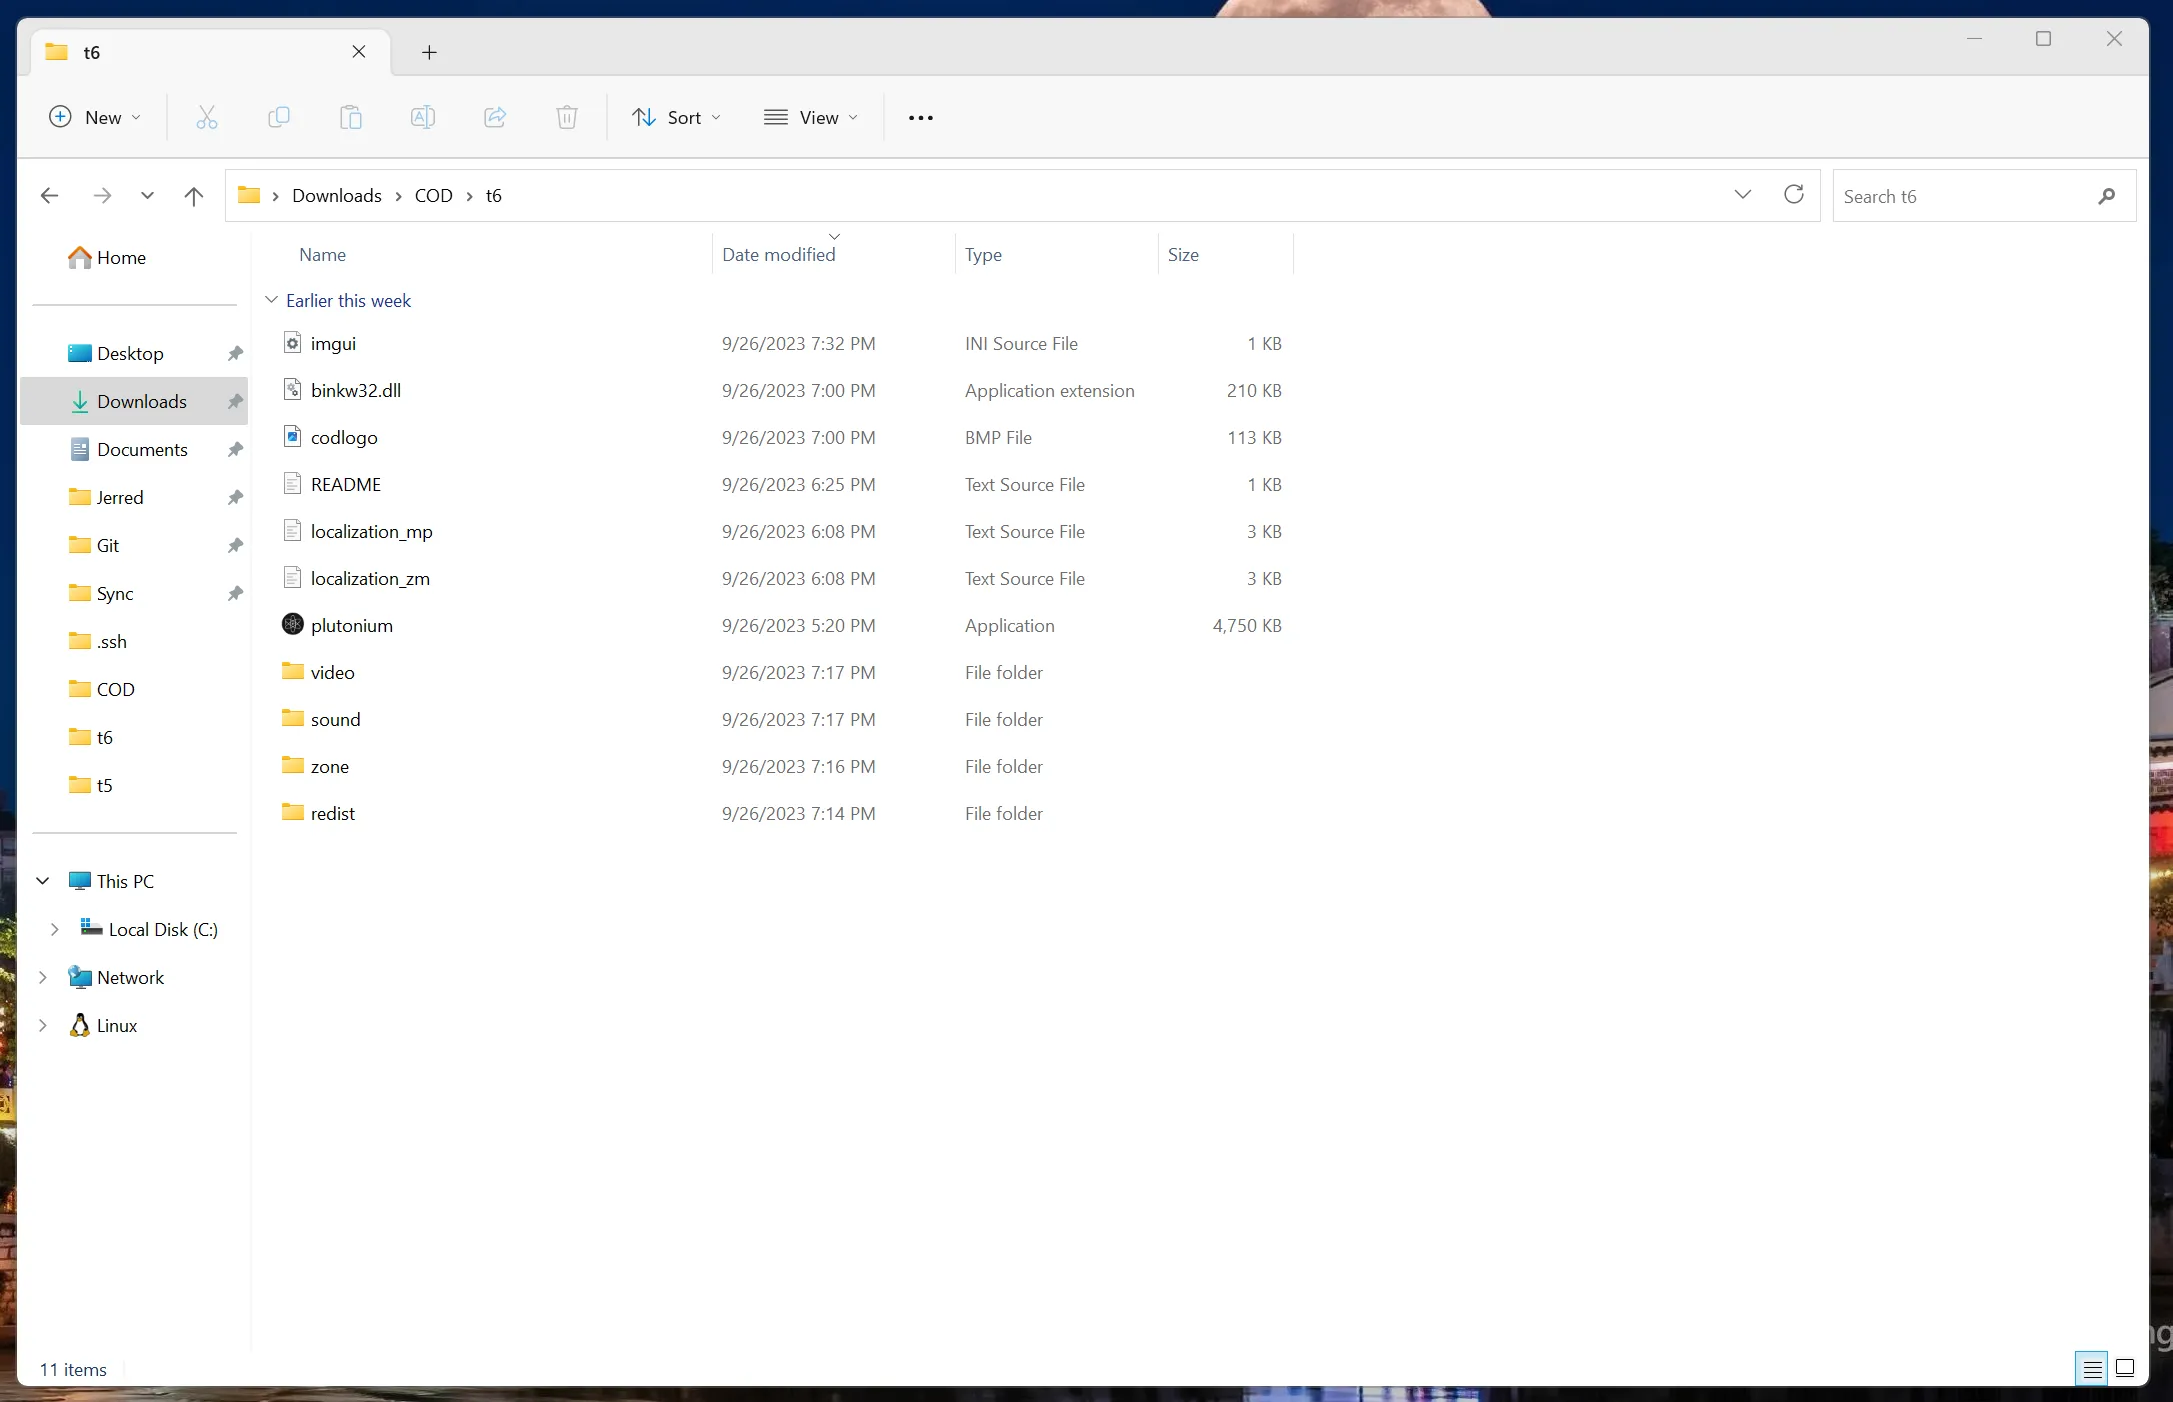
-
Click the “Play” button to start the game.

In-game
Once Black Ops 2 has opened, you can press F to view your friends list.
You can play Zombies with others by hosting a custom game. Once you’ve created a custom game lobby, press P to open your party settings. Be sure your settings allow friends to join you. You can also modify your lobby size.
Note that you cannot start a game with more than four players in the lobby. You’ll have to start the lobby with no more than four players; the other players game join your game while it’s in progress via the friends list. Eight-player games are only supported on maps that also support the “Grief” gamemode.